Lately, I’ve noticed how hard it’s become to find high-quality skincare products without breaking the bank. With import tariffs and rising costs on Korean beauty products, some of my favorite brands are either sold out, overpriced, or completely unavailable. K-beauty has always been known for its glow-enhancing, skin-loving formulas — but now, even the most basic toners and serums come with shipping fees and taxes that make them feel like luxury splurges.
That’s why I’ve turned to something much simpler — making my own rice-based skincare at home. It’s affordable, clean, and inspired by the same natural ingredients that K-beauty was built on. In a time when even self-care feels inflated, creating your own products can be empowering — proof that radiant, healthy skin doesn’t have to depend on imports or expensive trends.
—
Why Rice?
Rice is one of the most underrated skincare ingredients. It’s rich in antioxidants, amino acids, and ferulic acid — which helps brighten, soothe, and smooth the skin. In many Asian beauty traditions, rice water has been used for centuries to achieve that fresh, glass-skin glow.
When used as a scrub, rice gently exfoliates dead skin without stripping your barrier. And when used as a toner, it tightens pores, evens out skin tone, and adds a beautiful natural radiance.
—
How to Make a Rice Face Scrub
You’ll need:
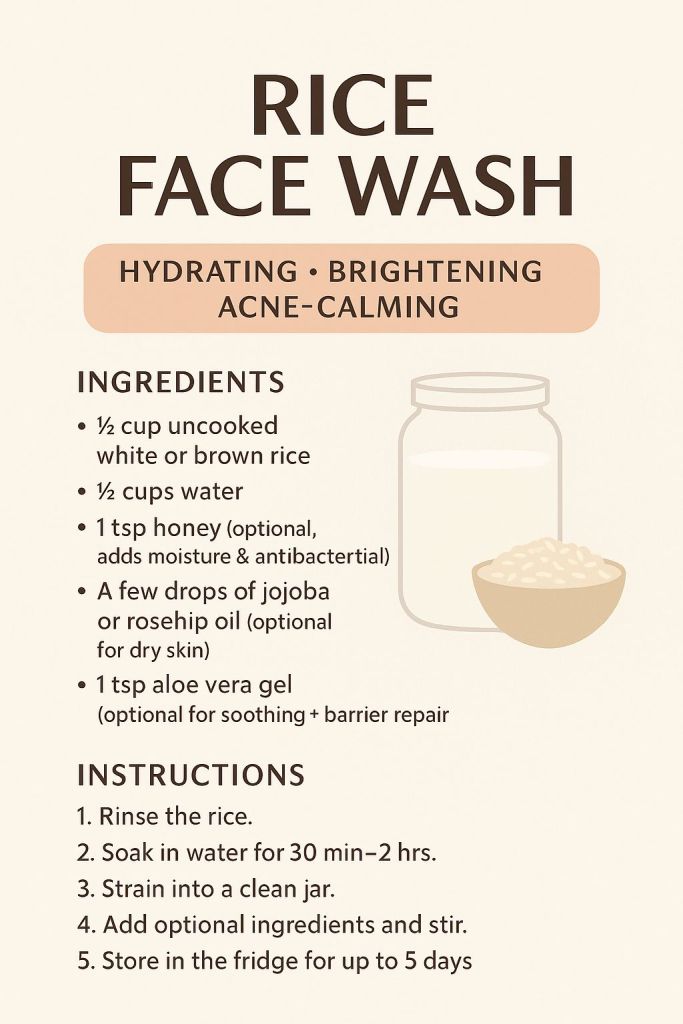
½ cup uncooked rice (white or brown)
2 tablespoons honey or aloe vera gel
1 tablespoon coconut or olive oil
A blender or coffee grinder
Directions:
1. Rinse the rice to remove any impurities.
2. Let it dry for a few minutes, then blend it into a fine powder.
3. Mix the rice powder with honey and oil until it forms a smooth paste.
4. Apply to clean, damp skin in gentle circular motions.
5. Leave it on for 5–10 minutes before rinsing with warm water.
✨ Pro tip: Store any leftover scrub in a small jar in the fridge — it can last up to a week.
—
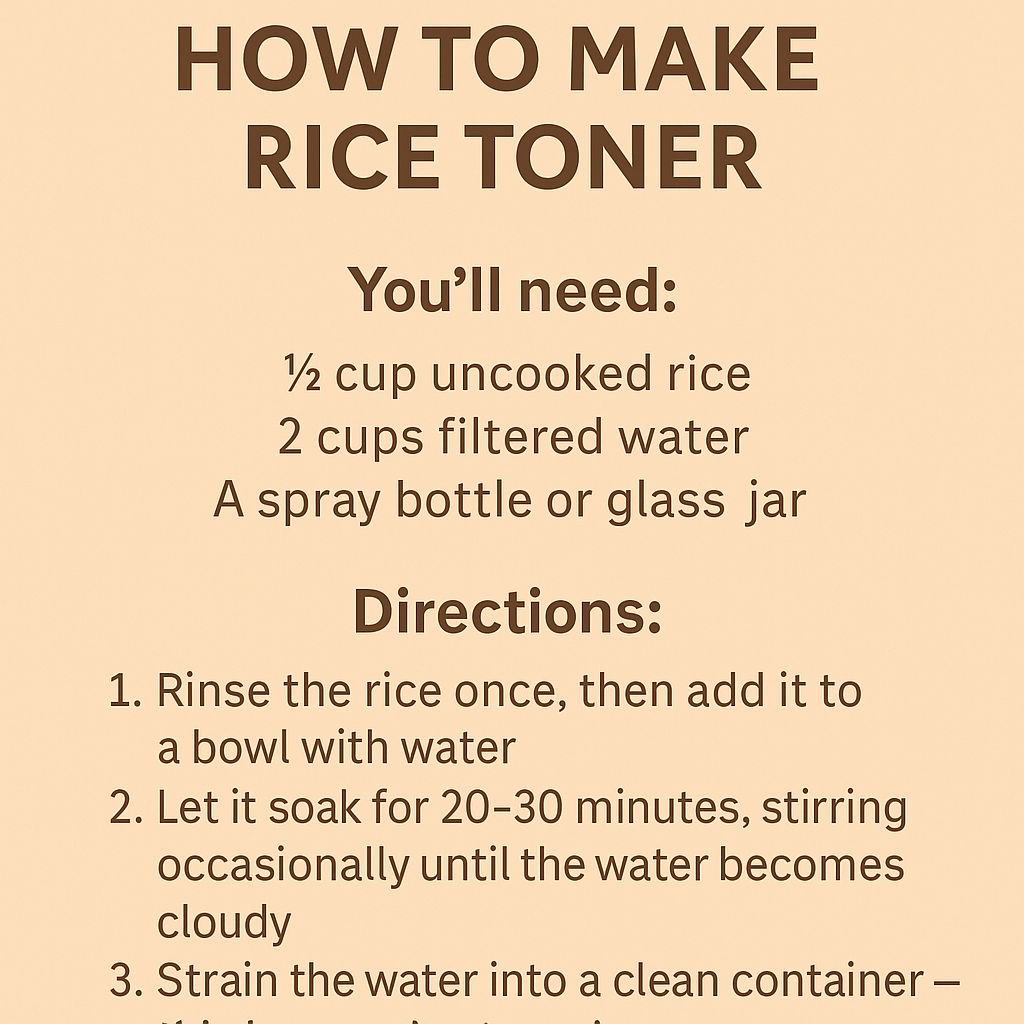
How to Make Rice Toner
You’ll need:
½ cup uncooked rice
2 cups filtered water
A spray bottle or glass jar
Directions:
1. Rinse the rice once, then add it to a bowl with water.
2. Let it soak for 20–30 minutes, stirring occasionally until the water becomes cloudy.
3. Strain the water into a clean container — this is your rice toner!
4. Store it in the fridge for up to 5 days.
To use, apply it after cleansing with a cotton pad or spritz it directly onto your face for a refreshing glow.
—
The Beauty of Simplicity
What I love most about these DIY recipes is how affordable and sustainable they are. One bag of rice costs less than $5 and can last for months — while giving you multiple uses for your skin, body, and even hair (rice water makes a great conditioner too).
Making your own products is not just about saving money; it’s about returning to the roots of real beauty — simple, natural, and nourishing.
—
Final Thoughts
As tariffs and inflation continue to raise the price of imported beauty products, there’s power in going back to basics. Creating your own rice scrub and toner not only saves money — it reconnects you to centuries of natural skincare wisdom that’s always been within reach.
✨ For more DIY beauty, fitness, and wellness tips, follow me on all platforms — @thesamiragrady
Subscribe to my official site: SamiraGrady.online

Leave a comment